As summer fades into fall and the first days of October are upon us, pumpkin patches become ubiquitous. For many families, finding the ideal gourd to craft their Halloween Jack-o-lantern is an annual tradition.
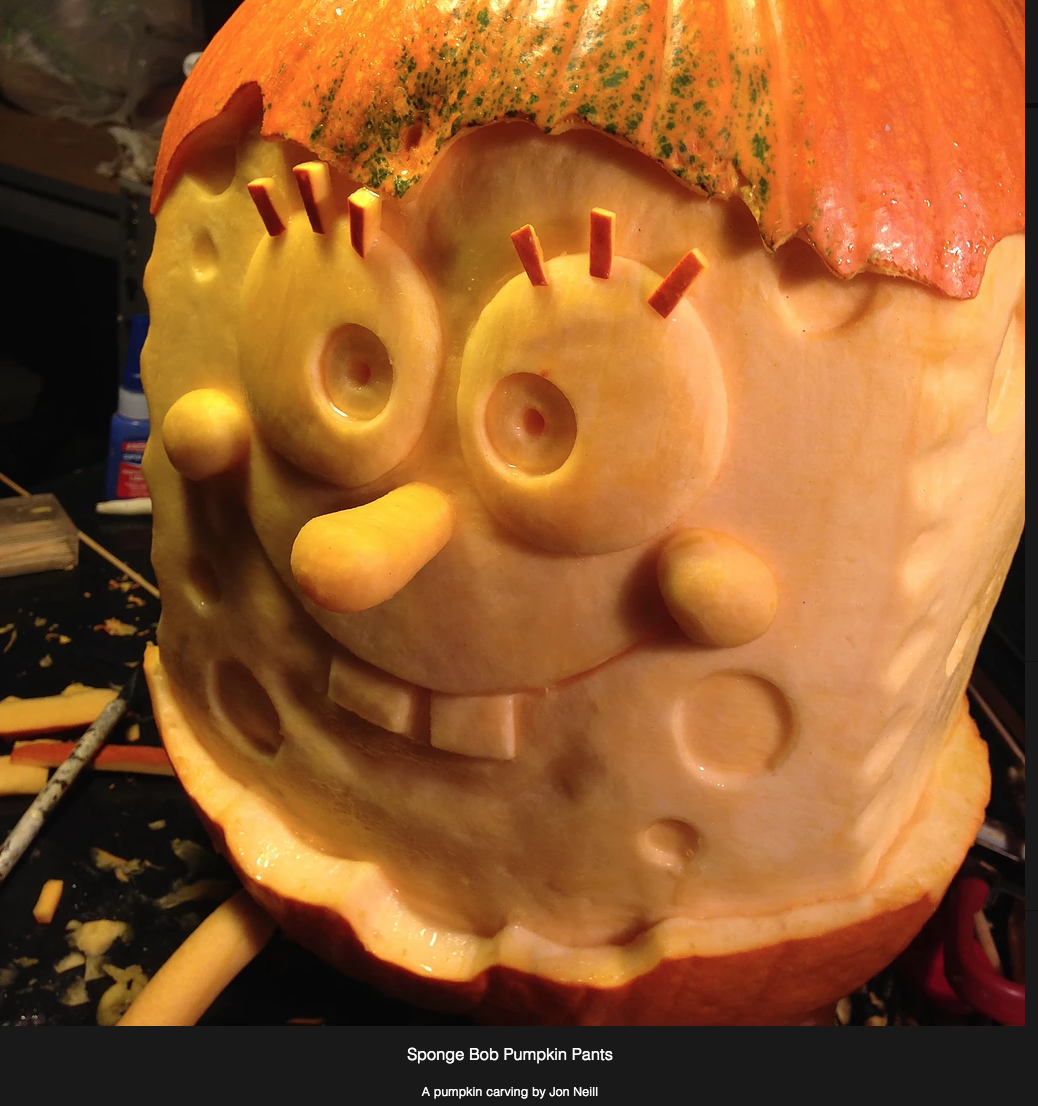
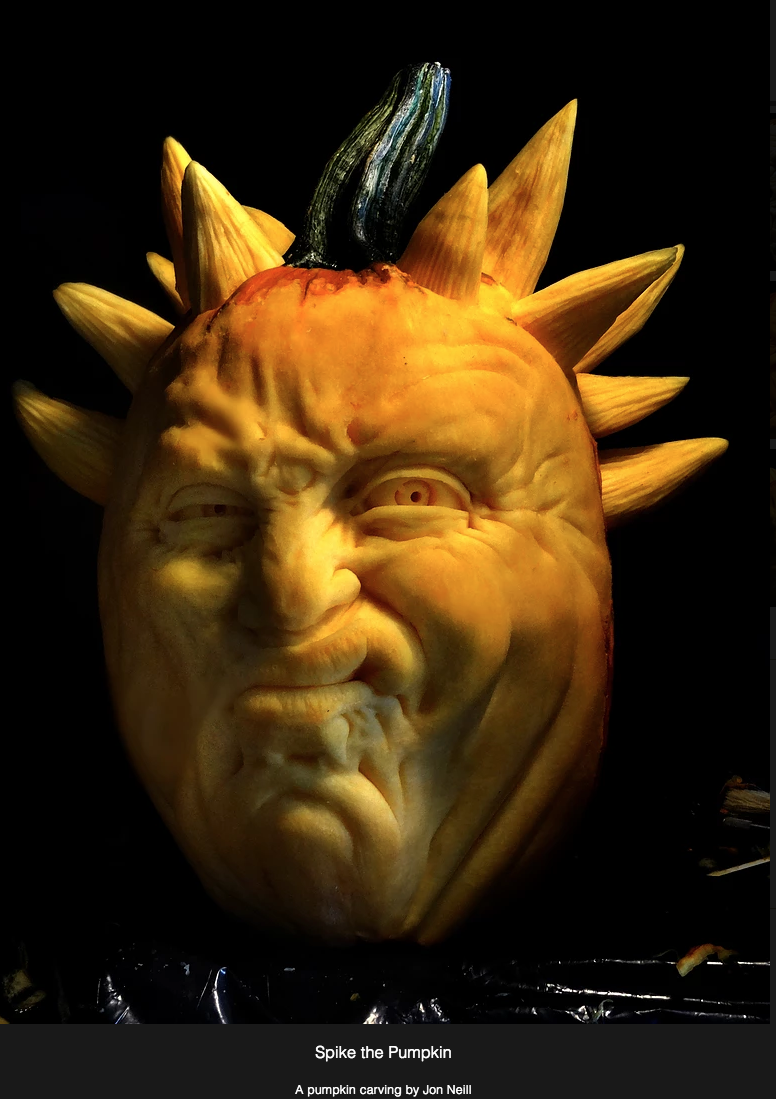
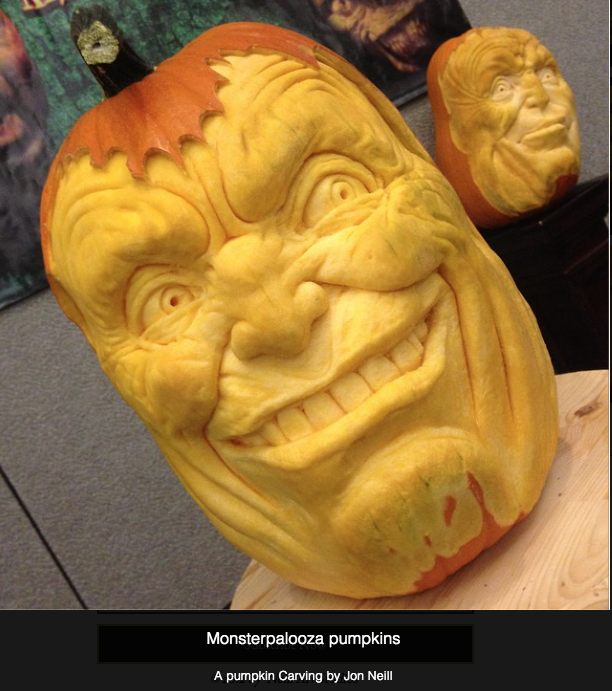
"Pumpkin Guru" Jon Neill is a world renowned champion pumpkin carver whose creations have been featured on Food Network, Snickers Halloween Commercial, YouTube, The Hallmark Channel & Nickelodeon. Neill tours nationally every autumn, carving giant pumpkins for festivals and events.
Silly, scary or somewhere in between, whatever style you prefer, here are top tips on how to carve your Halloween creation.
SAFETY TIPS
- Carve in a location with abundant light and plenty of space
- Always closely supervise young children
- Adults should cut the lid and other areas requiring sharp knives, or invest in a pumpkin carving kit, which is more tailored for use by young kids
- Always cut away from yourself
- Never force the knife if it gets stuck. Wiggle and use a sawing motion to loosen rather than trying to pull it out.
- Use flameless candles
PICKING YOUR PUMPKIN
- Avoid pumpkins with soft spots or cuts, which can result in the gourd going bad quickly
- The larger the pumpkin, the more surface area on which to create your masterpiece
- Look for pumpkins with long, green stems
- Choose a squash that seems heavy for its size (this means they have a thicker surface)
PREP YOUR PUMPKIN
- Wait until a week before Halloween to carve
- Slow decay by dipping the gourd into a 10% bleach solution (use a spray bottle of the same solution to spray carved areas)
GUTTING YOUR GOURD
- Use a serrated saw in a pumpkin carving kit or knife with a long, thin blade, cut a lid at the top (or even the bottom depending upon your design-it can be round, square or with jagged edges
- Using hands, large spoons and scrapers that come with carving kits, remove all of the squash's innards. Scraping the sides and bottom help detach the strings. Save the seeds for roasting, if desired.
- "Pumpkin Guru" Jon Neil leaves his pumpkins intact and only carves the outside surface.
CARVE IT UP
- There are numerous, free stencils available online that can be printed out and attached to the surface of your gourd.
- If using a stencil, use pushpins or the poker that is included with your carving kit to outline the stencil design on the pumpkin.
- For those who are creative, hand draw your design with a washable marker.
- Start carving in the middle of the gourd and work outward. For large sections, cut a smaller section first to avoid getting the carving tools stuck or bent.
- While carving, spray the pumpkin to keep it hydrated and easier to cut.
ACCESSORIZE
- Props can add a lot to your Jack-o-lantern. Cotton, yarn, buttons, seeds, hay, moss, nails, material....get creative with various materials for teeth, hair, eyes and more.

LIGHT YOUR LANTERN
- For safety as well as to preserve your pumpkin, use battery operated tea lights or LED lights made for carved pumpkins.
- Get creative by using different colored lights
PRESERVE YOUR PUMPKIN
- Soak before carving and spray your pumpkin with a 10% bleach solution inside and out everyday once carved
COMPOST YOUR CARVING
- Once your Jack-o-lantern has served its time, place it in your green waste or compost pile.
Article excerpt Costco Connection